Embarking on a cross-stitch journey can be both thrilling and, let’s be honest, a bit overwhelming, especially when you’re trying to wrap your head around all the tools you might need. But fear not! I’ve got your back with “The Ultimate Guide To Cross-Stitch Tools: Everything You Need To Know”. This guide is your one-stop shop, loaded with insights and tips on every tool you’ll ever need to master the art of cross-stitch. From needles and fabric to hoops and thread, I’ve covered it all, ensuring you can focus on bringing those beautiful designs to life without fretting over the small stuff.

Understanding the Basics of Cross-Stitch
What is Cross-Stitch?
Hi there! So, you want to dive into the world of cross-stitch, huh? Well, let me give you the lowdown. Cross-stitch is a form of hand embroidery that’s all about creating pictures and patterns through X-shaped stitches made on fabric. It’s a pretty neat way to create beautiful art, one stitch at a time. Whether you’re aiming to craft a masterpiece for your wall or a heartfelt gift for someone special, cross-stitch has got you covered.
The History of Cross-Stitch
Cross-stitch isn’t some new fad; it’s been around for ages. Seriously, we’re talking since the Middle Ages! It began as a simple method to mend and reinforce fabric, but soon evolved into a decorative craft. Throughout history, different cultures have adapted it, infusing unique styles and techniques. It’s pretty fascinating how cross-stitch has stitched its way through time, becoming the beloved hobby it is today.
Basic Techniques of Cross-Stitch
Getting the hang of cross-stitch starts with mastering a few basic techniques. First off, you’ve got your basic cross-stitch, where you make little Xs on the fabric. Then, there are techniques for starting and ending your thread without making a mess on the backside of your work. And don’t forget about following patterns! These basics are the foundation of all the fun and intricate designs you’re going to create.
Essential Cross-Stitch Tools
Embroidery Hoops and Frames
Embroidery hoops and frames are total game-changers. They hold your fabric taut while you work, making your stitches more even and your life much easier. There are different sizes and types to choose from, depending on the project you’re tackling. Personally, I love switching between hoops and frames based on what feels right for the piece I’m working on.
Needles for Cross-Stitch
Not just any needle will do for cross-stitch. You’ll need a specific type called tapestry needles. They have blunt tips, so they slide through the fabric without splitting threads, and a large eye to accommodate embroidery floss. Picking the right size needle is crucial, too; it depends on the fabric you’re using.
Fabrics: Aida, Linen, and Others
Speaking of fabric, you’ve got options. Aida is the go-to for beginners, thanks to its well-defined grid that makes counting stitches a breeze. Linen, with its natural and elegant look, is great for more experienced stitchers. Each fabric offers a different look and feel, so experiment to find your favorite.
Embroidery Scissors
A good pair of sharp, precise embroidery scissors is a must. You’ll use them to snip floss and trim edges, so quality matters. Trust me, trying to use dull or clumsy scissors will only end in frustration.
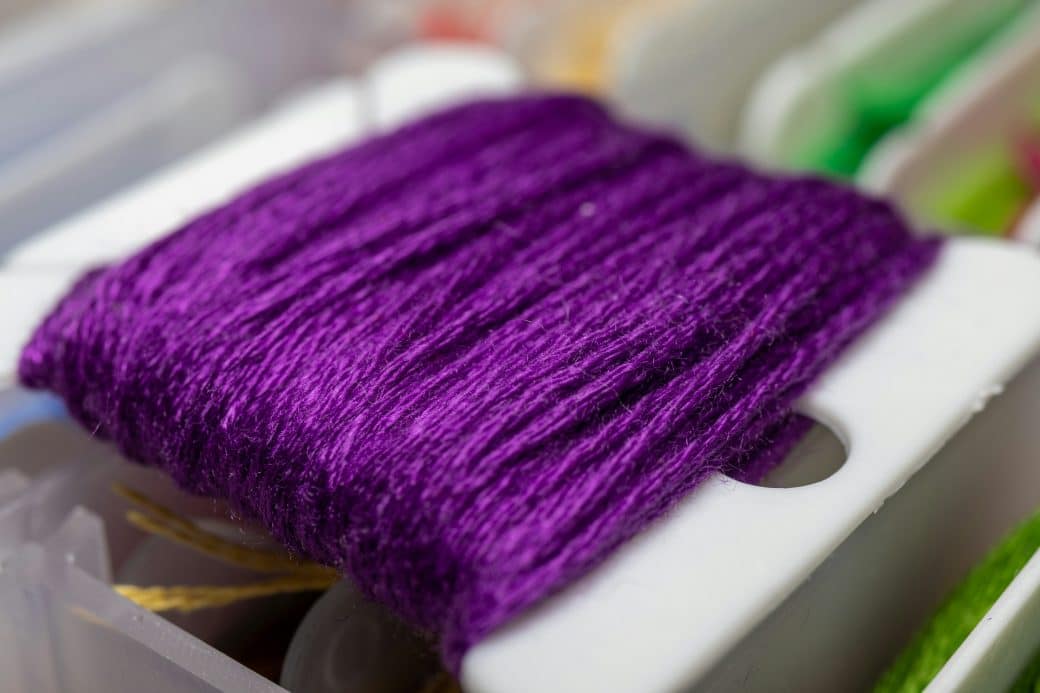
Thread Organizer and Bobbins
If there’s one thing I know, it’s that floss can quickly become a tangled mess. Enter the thread organizer and bobbins. Winding your floss onto bobbins and keeping them organized will save you so much time (and sanity). It makes finding the right color a snap.

Choosing Proper Threads & Yarns
Types of Threads
When it comes to cross-stitch, the most common thread you’ll use is embroidery floss. It usually comes in strands made up of six threads, and you can separate them depending on the thickness you’re going for. There’s also pearl cotton, which is non-divisible and has a beautiful sheen, adding a different texture to your work.
Selecting the Right Color and Weight
Choosing the right color and weight of thread can make all the difference in your project. The weight affects how chunky or delicate your stitches look. As for colors, the sky’s the limit! Be bold, experiment, and don’t be afraid to deviate from the pattern’s suggestions to make the piece your own.
Preferred Brands for Cross-Stitch
Everyone has their favorite brands, and when it comes to floss, it’s no different. DMC and Anchor are two of the big names you’ll hear. They offer a wide range of colors and are known for their quality. It’s worth trying a few brands to see what works best for you.
Necessary Cross-Stitch Accessories
Thimbles and Needle Threaders
Thimbles protect your fingers from getting poked, while needle threaders are a blessing for anyone who struggles to thread those tiny needle eyes. They’re simple tools but can make your stitching sessions way more enjoyable.
Magnifiers and Lamps
If you’re working on intricate designs or have difficulty seeing small stitches, magnifiers and lamps can be lifesavers. They help reduce eye strain and make it easier to see what you’re doing, especially during those late-night stitching marathons.
Marking Tools: Washable Pens and Chalk
Marking tools, like washable pens and chalk, are great for transferring patterns onto fabric or making temporary marks to guide your stitching. Just make sure whatever you use is truly washable. Nobody wants a permanent oopsie on their masterpiece.

Understanding Cross-Stitch Patterns
Reading Patterns
Reading cross-stitch patterns can feel like decoding a map at first, but once you get the hang of it, it’s a snap. Patterns tell you which color to stitch where, using symbols. There’s usually a key that matches symbols to specific thread colors. Getting familiar with reading patterns will open up a whole world of designs for you to tackle.
Counted vs. Stamped Cross-Stitch
There are two main types of cross-stitch: counted and stamped. Counted cross-stitch is done on blank fabric, relying on the pattern for guidance. Stamped cross-stitch has the design printed right on the fabric, so you just stitch over the printed areas. Both have their perks, so try each to see which you prefer.
Sources for Patterns
Finding patterns is half the fun. You can buy them online, in craft stores, or find free ones shared by the generous cross-stitch community. There are patterns for every skill level and interest, from simple motifs to complex landscapes.
Basic Cross-Stitch Techniques
Starting and Ending Your Thread
Learning to start and end your thread without knots keeps the back of your work neat. Techniques like the loop start method or weaving the ends under existing stitches are game-changers. It might seem fiddly at first, but it’s worth the effort for a clean finish.
Making a Cross-Stitch
The heart of cross-stitch is, well, the cross-stitch. You’ll be making a lot of these little Xs. The key is consistency – making sure each stitch crosses in the same direction across your project. This consistency gives your work a neat, uniform look.

Advanced Cross-Stitch Techniques
French Knot and Loop Start
Ready to level up? The French knot adds texture and dimension, perfect for eyes in a portrait or centers of flowers. The loop start is a nifty way to start with a double strand of floss without leaving a tail.
Backstitch and Half-Stitch
Backstitch adds outlines and details to your work, making elements pop. The half-stitch, on the other hand, is great for adding shades and depth without the full weight of a cross-stitch. Mastering these can really elevate your projects.
Blending Threads and Variegated Floss
For more color depth, try blending threads by using strands of different colors together. Variegated floss, with its color changes along the length, can add stunning effects with minimal effort. Playing with these techniques can be incredibly fun and rewarding.
Maintaining Cross-Stitch Tools
Cleaning and Storing Needles
A simple wipe down with a dry cloth is enough to keep your needles clean. Storing them in a needlebook or case protects them (and you) and keeps them organized. Trust me, you don’t want to learn the hard way why loose needles and couch cushions don’t mix.
Floss Storage Solutions
Keeping your floss tangle-free and accessible will make your stitching experience so much smoother. Bobbins, organizers, and even DIY solutions can help keep your collection in check. A little time spent organizing upfront saves a lot of time (and frustration) down the line.
Care for Hoops and Frames
Hoops and frames need love, too! Keeping them clean and storing them properly when not in use can extend their life. For wooden frames, a light oiling can prevent drying and cracking. Remember, these tools help you create beautiful art, so keep them in good condition.
Tips and Tricks for Better Cross-Stitch
Stitching Tips
Always start from the middle of your fabric to ensure your design is centered. And, maintaining an even tension on your floss will keep your stitches looking crisp. Don’t pull too tight, but you don’t want them too loose, either. Finding that sweet spot comes with practice.
Framing and Displaying Your Work
After all your hard work, you’ll want to show it off! Framing your piece can protect and enhance it. There’s a lot to consider – from choosing the right frame to mounting your work properly. It’s worth taking the time to do it right.
Cross-Stitch Safety Precautions
Safe Storing of Needles and Scissors
Always, always store your needles and scissors safely. Needle minders, cases, and even simple pincushions can prevent accidents. Especially if you have little ones or pets around, keeping sharp tools out of reach is crucial.
Ensuring Proper Lighting to Avoid Eye Strain
Good lighting is non-negotiable. It not only helps you see your work better but also prevents eye strain. Whether it’s natural light or a quality lamp, make sure you’re taking care of those peepers.
Balancing Cross-Stitch with Breaks to Prevent Strain
Lastly, remember to take breaks. Yes, stitching can be super addictive, but repetitive strain injuries are real. Stretching, changing your position, and giving your eyes a rest will keep you stitching happily for years to come.
And there you have it, my ultimate guide to cross-stitch tools and tips! Whether you’re brand new to this or a seasoned stitcher looking to refine your skills, I hope you found something useful here. Happy stitching!