I’ve always been fascinated by the art of transforming a simple lump of clay into an intricate, beautiful piece of pottery. It’s like watching magic unfold before your eyes, especially when you’re experimenting with unique handbuilding techniques. In “Crafting Unique Handbuilding Techniques with Clay: A Behind-the-Scenes Exploration,” I’m taking you on a personal journey into the heart of my studio. It’s here that I’ve spent countless hours, hands covered in clay, discovering and perfecting methods that are as unconventional as they are breathtaking. From pinching and coiling to experimenting with textures you wouldn’t believe could come from the earth beneath our feet, I’m thrilled to share these insights and perhaps inspire you to create your own pottery wonders.

Different Types of Clay and Their Properties
When I first dipped my toes into the world of pottery, I quickly realized that not all clay is created equal. Each type of clay has its own unique set of properties that can significantly influence the outcome of your craft.
Understanding the basic types of pottery clay
At its core, there are three basic types of pottery clay: earthenware, stoneware, and porcelain. Earthenware is perhaps the most commonly used clay, known for its versatility and ease of use. Stoneware, on the other hand, is known for its durability and strength, making it an ideal choice for functional pieces like mugs and bowls. Porcelain, with its delicate and refined finish, is often used for fine china and decorative pieces.
Exploring the different properties of clay types
Each type of clay not only has a unique texture and workability but also reacts differently during the firing process. For instance, earthenware clays are porous and low-fired, while stoneware clays are high-fired, making them waterproof and more durable. Porcelain, recognized for its translucency and smoothness, requires a high firing temperature, which can be challenging to achieve without a professional kiln.
Choosing the right type of clay for your craft
Choosing the right type of clay is all about understanding the final look and function you want to achieve. For beginners and those interested in making decorative items, earthenware is a fantastic place to start due to its forgiving nature. If you’re aiming to create sturdier, functional pieces, stoneware may be your go-to. And for those of you interested in creating fine, detailed work, the challenge of working with porcelain could be quite rewarding.
How the properties of clay can influence your handbuilding technique
The type of clay you choose can greatly influence your handbuilding techniques. Softer clays like earthenware are easier to mold and shape, making them ideal for beginners practicing techniques like pinching and coiling. On the other hand, stoneware, with its firmer structure, is perfect for more complex handbuilding projects that require the clay to hold its shape over larger spans.
Understanding the Basics of Handbuilding
Handbuilding is a fundamental pottery technique that involves creating shapes and forms using nothing but your hands and simple tools. It’s an accessible entry point into the world of pottery, allowing for a wide range of creativity.
Defining handbuilding in pottery
Handbuilding encompasses a variety of techniques, each offering a different avenue for expression and creativity with clay. Unlike wheel throwing, handbuilding is more about sculpting and shaping the clay directly with your hands.
Importance and benefits of handbuilding
The beauty of handbuilding lies in its simplicity and the direct connection it allows between the artist and the clay. It’s a meditative process that encourages mindfulness and creativity. Plus, it does not require expensive equipment, making it accessible to beginners and hobbyists alike.
The core techniques of handbuilding: pinch, coil, and slab
The pinch, coil, and slab techniques are the foundation of handbuilding. Pinching is the most intuitive of the three, involving the simple act of shaping the clay by pinching it between your fingers. Coiling involves rolling long snake-like rolls of clay and stacking them to build up forms. The slab technique uses flat, rolled-out pieces of clay, similar to dough, which are then cut and joined to create various shapes.

Preparing Your Workspace
Setting up a conducive environment for crafting with clay is crucial. It not only makes the process more enjoyable but can also significantly impact the quality of your work.
Creating an optimal environment for clay crafting
Your workspace should be well-lit, spacious enough to accommodate your tools and materials, and preferably easy to clean. A large, sturdy table and a comfortable chair are essentials.
Essential tools and materials for clay handbuilding
Besides clay, some essential tools for handbuilding include a rolling pin for slabs, a wire to cut the clay, wooden and rubber rib tools for smoothing, and various sculpting tools. Having a sponge and a bowl of water nearby is also handy for keeping the clay workable.
Safety precautions and practices in a clay crafting workspace
Working with clay is generally safe, but it’s important to keep the workspace clean to avoid inhaling clay dust. Wearing a dust mask when sanding dry clay and keeping the area well-ventilated are good practices. Also, be mindful of sharp tools and the potential hazards of a kiln if you have one.
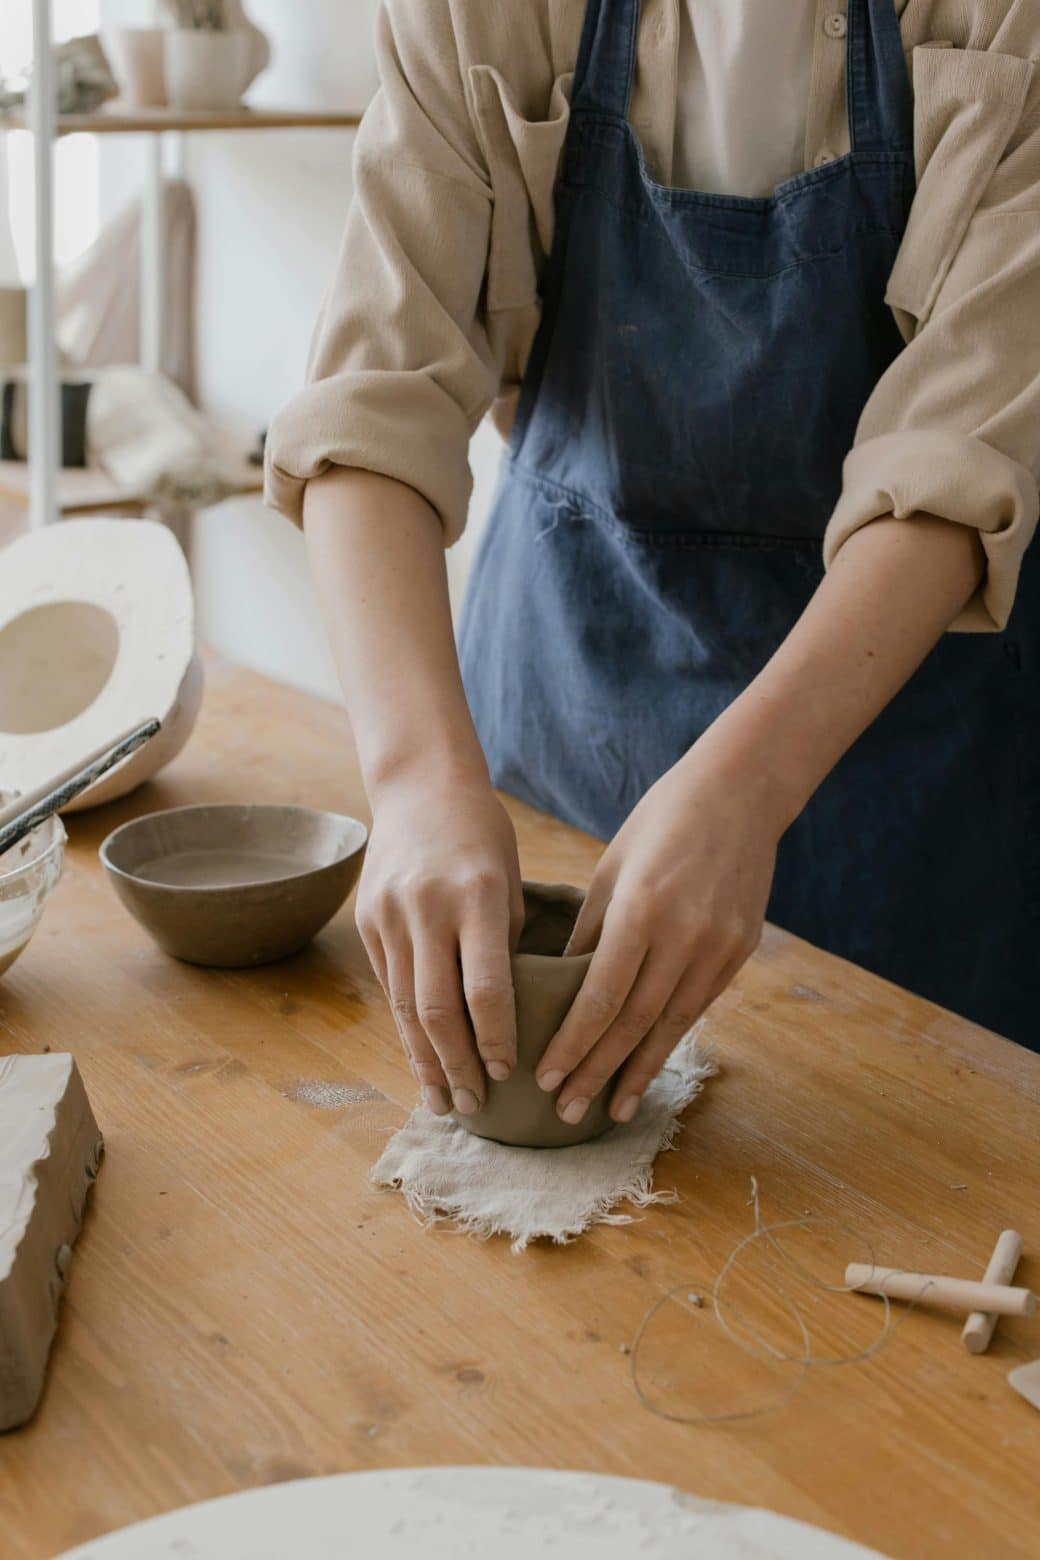
Mastering the Pinch Technique
The pinch technique is often where most of us start our clay crafting journey. It’s simple, yet it opens up a world of possibilities.
Procedure for the pinch technique
You start with a ball of clay and use your thumb to create an initial depression in the center. Then, by pinching the walls and rotating the piece, you gradually shape it into the desired form—a process that feels incredibly organic and hands-on.
Challenges and common mistakes in pinch technique
One common issue is creating walls that are uneven in thickness, which can lead to cracking or deformation during drying and firing. It requires patience and practice to achieve uniform thickness throughout the piece.
Creating unique designs using the pinch technique
Despite its simplicity, the pinch technique allows for a lot of creativity. By altering the pressure, rhythm, and motion of your pinching, you can create a variety of textures and forms ranging from rustic bowls to intricate sculptures.

Exploring the Coil Technique
Coiling is another fundamental handbuilding technique, offering a different set of possibilities compared to pinching.
Fundamentals of the coil technique
Coiling involves rolling out long strands of clay, then layering them to build up the walls of a pot or other shapes. The coils can be left visible for a textured effect or smoothed out for a cleaner look.
Variations and adaptations of the coil technique
There’s a lot of room for variation within the coil technique. Coils can be thin or thick, tightly packed or spaced out, depending on the desired outcome. You can also combine coiling with pinching and slab building for more complex shapes.
Troubleshooting common coil technique problems
Achieving a strong bond between the coils is crucial but can be tricky. Sometimes, the piece can collapse under its weight if the clay is too wet or the coils aren’t properly joined. Scoring and slipping the ends of the coils before attaching them can help prevent these issues.
The Art of the Slab Technique
The slab technique is particularly versatile, ideal for creating everything from simple plates to intricate sculptures.
Understanding the slab technique
This technique involves rolling out clay into even slabs, then cutting and joining these slabs to form objects. It’s somewhat akin to working with cut-out patterns in sewing or woodworking.
Advanced slab creations: combining slabs to form large designs
Once you’re comfortable with basic slab construction, you can start experimenting with more complex forms. By combining slabs at different angles and using supports during the drying phase, you can create large, ambitious pieces.
Overcoming common issues in slab technique
Warping and cracking are two common problems with slab-built pieces. Ensuring the slabs are of uniform thickness and allowing slow, even drying can mitigate these issues. Sometimes, reinforcing the structure with coil or pinch techniques can also help.

Incorporating Sculpting into Handbuilding
Blending sculpting techniques with handbuilding opens up a whole new dimension of clay crafting.
Mixing sculpting and handbuilding to create unique designs
Sculpting allows for detailed decorative elements to be added to handbuilt forms, providing a wonderful way to personalize your work. Whether it’s adding texture, creating figurines, or embellishing with appliques, the possibilities are endless.
Commonly used sculpting methods in handbuilding
Some familiar sculpting methods include carving into the clay to create relief designs, adding slip (liquid clay) to build up texture, and applying pre-made clay shapes to the surface of a piece.
Challenges and how to overcome them in combining sculpting and handbuilding
One challenge is ensuring that the added sculptural elements adhere well to the base form and don’t crack or detach during drying or firing. Using slip as a ‘glue’ and ensuring the clay isn’t too dry when adding elements can help prevent these issues.
Decorating and Glazing Your Craft
Decorating and glazing are the final steps in the handbuilding process, transforming your clay piece from a raw form into a finished work of art.
Decorating techniques for clay crafts
Decorating can involve anything from painting with underglazes, carving designs into the clay, or adding colored slips. Each technique can drastically change the look of your piece, offering endless possibilities for customization.
Understanding the glazing process
Glazing involves applying a coat of specialized glass-forming substances to your bisque-fired piece. During the subsequent glaze firing, the glaze melts and forms a glassy surface on the clay, enhancing both its appearance and functionality.
Types of glaze and their effects on your craft
Glazes come in a vast range of colors, textures, and finishes, from glossy to matte, transparent to opaque. Experimenting with different types of glaze can significantly influence the final look of your piece, making each creation uniquely yours.
Firing Your Craft
Firing is an essential process in pottery, solidifying your work and bringing out the beauty of the clay and glazes.
Understanding the process of firing pottery
Firing involves heating your clay piece in a kiln to specific temperatures. There are usually two firings: a bisque fire to harden the clay and a glaze fire to melt the glaze onto the surface.
Types of kilns for firing
There are several types of kilns available, from electric and gas to wood-fired. Each type of kiln can affect the outcome of your firing, with variations in atmosphere, temperature, and firing time.
Troubleshooting common firing issues
Cracking, glaze defects, and discoloration are common issues that can occur during firing. These can often be mitigated by paying close attention to the clay body and glaze compatibility, ensuring proper kiln loading, and controlling the firing cycle carefully.
Tips and Tricks for Unique Clay Handbuilding
Developing your style and technique in handbuilding takes time, experimentation, and a lot of practice.
Advanced techniques for creating one-of-a-kind designs
Exploring advanced techniques like combining different handbuilding methods, experimenting with alternative firing techniques, or using unconventional materials can lead to truly unique creations.
Finding creative inspiration for your clay crafts
Inspiration can come from anywhere—nature, architecture, textiles, or even everyday objects. Keeping an open mind and seeking out new experiences can help fuel your creativity and bring fresh ideas to your work.
Continuous learning resources for mastering clay handbuilding
The journey of mastering clay handbuilding is ongoing. Attending workshops, watching tutorial videos, reading pottery books, and connecting with other artists can provide valuable insights and new techniques to explore.
Crafting with clay is a deeply rewarding process, offering endless opportunities for creativity and expression. By understanding the fundamentals of clay, handbuilding techniques, and the importance of decorating, glazing, and firing, you can embark on a journey of crafting pieces that are not only unique but also a true reflection of your artistic vision. Remember, the key to mastering handbuilding is patience, practice, and most importantly, enjoying the process of creation.