Imagine transforming a plain, boring card into a stunning piece of art with your own hands. That’s exactly what I’m about to walk you through in “Crafting Creative DIY Card Embellishments: A Step-by-Step Guide.” This guide is your ticket to unleashing your creativity and adding a personal touch to any card. Whether you’re a crafting beginner or a seasoned pro, you’ll find something here that will spark your imagination and elevate your card-making game. Let’s get those creative juices flowing and turn those ideas into reality, shall we?
Crafting Creative DIY Card Embellishments: A Step-by-Step Guide
Crafting has always been a passion of mine, a way to bring imagination and creativity to life. Over time, I’ve discovered that making your own DIY card embellishments can transform a simple greeting card into a masterpiece of personal expression. Whether you’re a beginner or an experienced crafter, I’m excited to share with you my comprehensive guide to crafting creative DIY card embellishments. Let’s dive in!

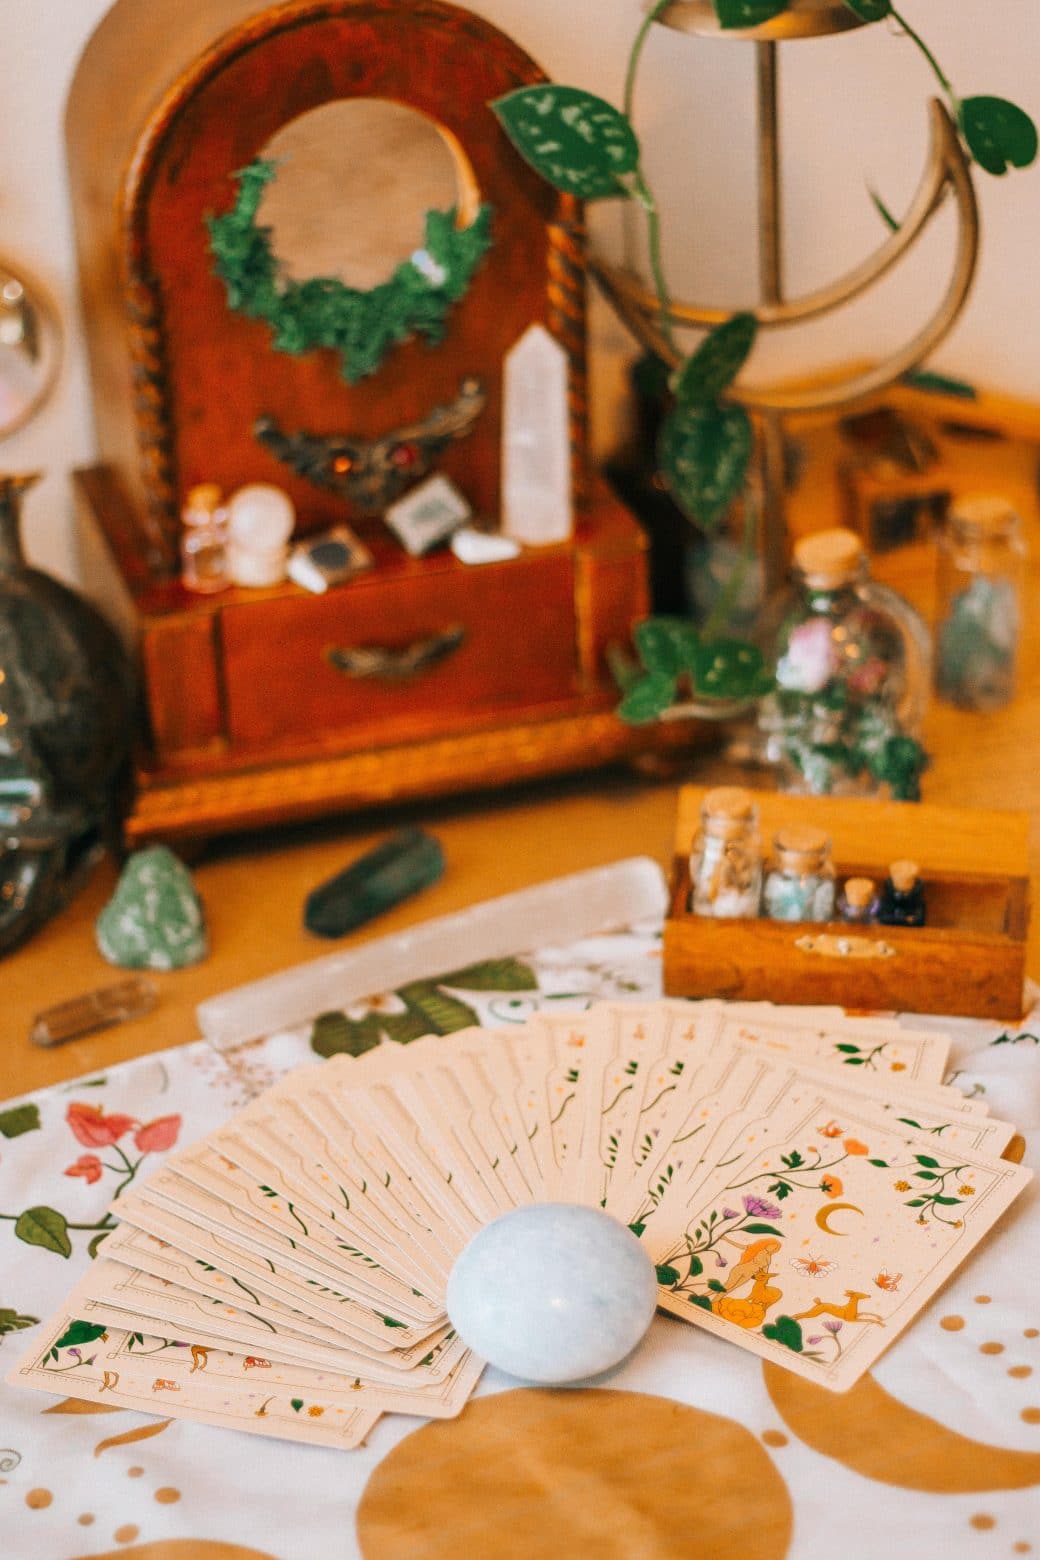
Understanding Necessary Materials
Exploring different kinds of papers
When it comes to crafting, the paper you choose can make all the difference. From heavy cardstock that serves as a sturdy base, to delicate tissue or crepe paper for intricate flowers, each type of paper brings its own texture and feel to the project. I’ve found that experimenting with different finishes like matte, glossy, or even metallic can add a unique touch to your card.
Choosing the right adhesive
Selecting the right adhesive is crucial. From my experience, double-sided tape works wonders for flat designs, offering a clean look without any mess. For three-dimensional embellishments, I prefer using a strong liquid glue or a hot glue gun for a secure hold. Remember, the key here is to use just enough to bond without causing any warping or puckering.
Importance of craft scissors
A good pair of craft scissors will be your best friend in card making. Precision-cut edges elevate your work from homemade to professional. I recommend having a variety for different purposes: a sharp, fine-tip pair for detailed cuts, and a larger pair for straight, long cuts. Some crafters even invest in scissors with decorative edges for an extra flair.
Other useful crafting tools
Other tools I’ve found indispensable include a bone folder for crisp folds, a ruler and a craft knife for precise measurements and cuts, and a scoring board to easily mass-produce uniform cards. And let’s not forget about decorative punches and embossing tools that can add texture and depth to your work.
Different Styles of Card Embellishments
Classic style
Classic style leans towards elegance and simplicity. Think gentle curves, subtle colors, and materials like ribbon, pearls, and lace. I love using a classic style for wedding or anniversary cards, where the beauty often lies in the understated details.
Fun and quirky style
This style is all about bright colors, playful patterns, and unexpected elements that bring a smile. Using cartoonish stickers, colorful buttons, or creating designs with a humorous message are my go-to methods. It’s perfect for kids’ birthdays or just to cheer someone up!
Elegant and chic style
When I aim for an elegant and chic look, I choose a monochrome palette with touches of gold or silver. Geometric patterns, foil accents, and minimalist designs define this style. It’s about sophistication and making a statement with less.
Minimalist style
The minimalist approach involves using very few elements but in a thoughtful way. A single, well-crafted paper flower or a beautifully tied ribbon bow against a plain background can speak volumes. This style teaches me that sometimes, less is indeed more.
Child-friendly style
Crafting for kids means lots of colors, textures, and elements they can interact with. Think pop-up features, stickers, and buttons in the shapes of animals or cartoon characters. I love seeing their faces light up with excitement over a card that’s as fun to play with as it is to look at.

Step-by-Step Guide to Creating Paper Flowers
Selecting Your Paper
Paper flowers start with choosing the right paper. For a realistic look, I select crepe paper for its stretchability or tissue paper for its delicate feel. For something more durable, colored cardstock is my choice.
Cutting Your Flowers
Drawing and cutting out the petal shapes is the next step. I often use templates but freehanding can lead to beautiful, organic shapes. Remember, variation in petal sizes and shapes adds to the natural appearance.
Assembling Your Flowers
Starting with the outer petals, I glue them layer by layer around a central point. Sometimes, I use a small bead or a button for the center for added detail. Tweezers can be helpful for placing small parts.
Adding Dimension to Your Flowers
To give flowers life, I gently shape the petals, curling, or twisting them. A dab of paint or ink on the edges can add depth and realism. Remember, no real flower is perfect, so embrace imperfections.
Mastering the Art of Ribbon Bows
Choosing the Right Ribbon
The ribbon material can change the look of your bow significantly. Satin gives a smooth, elegant appearance, while grosgrain offers a textured, casual vibe. I pick the ribbon type based on my card’s overall style.
Cutting Your Ribbon
I measure out how large I want the bow to be, then cut my ribbon accordingly, leaving extra length for adjustments. Cutting the ends diagonally prevents fraying and adds a finished look.
Tying the Perfect Bow
Creating a loop with both ends and tying them in a knot forms the basic bow. I adjust the loops and tails until satisfied with the shape. Sometimes, I use a fork for tiny bows to ensure they’re uniform.
Securing Your Bow
A small dot of strong adhesive or a quick stitch at the back of the bow keeps it in place on the card. For a non-permanent option, double-sided tape works too, allowing the recipient to reuse the bow.

Creating Dazzling Glitter Accents
Choosing Your Glitter
Fine glitter gives a subtle shimmer, while chunky glitter makes a bold statement. I choose the type based on the level of sparkle I want, and sometimes mix sizes for a textured effect.
Applying Your Adhesive
An even layer of glue on the area to be glittered ensures a uniform coat. I use a brush for detailed applications or spray adhesive for larger areas.
Adding Your Glitter
Pouring the glitter over the adhesive, I make sure the whole area is covered, then tap off the excess. A tip: I do this over a piece of paper to catch and reuse the spare glitter.
Securing Your Glitter
Once dry, a light spray of hairspray or a sealant can lock the glitter in place, reducing shedding and keeping your card clean.
Designing Unique Pop-Up Features
Planning Your Pop-Up
I sketch out my idea before cutting anything. This helps me visualize the mechanism and ensure I have enough room for it to function properly within the card.
Cutting Your Design
A craft knife and a cutting mat are essential for precise cuts. I follow my template closely, making sure not to accidentally cut through any fold lines.
Assembling Your Pop-Up
The key to a successful pop-up is understanding how it folds. I gently fold the card in and out, training the paper to move the way I want. Sometimes, reinforcements with additional paper are needed.
Testing Your Pop-Up
The fun part is watching your creation come to life. I open and close the card several times, making any necessary adjustments until the movement is smooth and the pop-up sits right.

Constructing Cute Button Embellishments
Selecting Your Buttons
I love digging through my button collection, mixing and matching colors and sizes. For a cohesive look, I stick to a specific color scheme or button size.
Choosing Your Design
Laying out the buttons before gluing them down allows me to play with arrangements. Sometimes I create shapes like hearts or flowers, other times I use them as accents.
Arranging Your Buttons
Once I’m happy with my design, I take a picture to remember the placement. This step is crucial, especially for complex designs.
Securely Attaching Your Buttons
A small dab of strong adhesive on the back of each button secures them in place. For cards that will be handled a lot, I sometimes sew the buttons on for extra durability.
Making Message Tags and Labels
Selecting Your Paper and Pens
For tags and labels, high-quality paper makes writing easier and the final product look polished. I choose pens that won’t bleed through or smudge, often opting for gel pens or fine-tip markers.
Designing Your Tags or Labels
Sometimes simple is best. A straight cut with a punch hole or an elegantly scalloped edge can define the style. I draw designs or borders to add a personal touch.
Cutting Your Tags or Labels
Using a ruler and a craft knife, I cut out my designs, taking care to make clean, straight lines. Decorative punches help create interesting shapes and edges.
Writing Your Messages
I practice my message on scrap paper first to get the wording and layout right. Then, I carefully write on the tag, sometimes adding small decorative elements like dots or hearts to fill empty spaces.
Using Stencils for Detailed Design
Finding or Making Your Stencil
Whether I use a store-bought stencil or make my own with a craft knife and acetate, the choice depends on the complexity of the design I want.
Selecting Your Paint or Ink
Acrylic paints or ink pads work well with stencils. I choose colors that complement my card’s color scheme, sometimes blending shades for a dynamic effect.
Applying Your Stencil
Securing the stencil with low-tack tape prevents it from shifting. Using a sponge or a brush, I apply the paint or ink with a dabbing motion for an even coat.
Removing and Cleaning Your Stencil
Lifting the stencil carefully reveals the design. I clean it immediately with warm, soapy water to prevent the medium from drying and clogging the cut-outs.
Finalizing and Adding Finishing Touches
Reviewing Your Design
I always take a step back to review my card as a whole. This helps me see if it’s balanced and if all elements are harmoniously integrated.
Troubleshooting Common Problems
Mistakes happen. A misplaced embellishment can often be gently removed and repositioned. If not, I try to incorporate it into the design or cover it with another element.
Adding Final Details
A final sweep through my toolbox might inspire me to add a last-minute touch, like a sprinkle of glitter or a delicate ribbon bow, to complete the look.
Preserving Your Crafted Card
Spraying a light coat of clear acrylic sealer protects my card from dust and fading. It’s a small step, but it ensures my hard work and creativity can be appreciated for years to come.
Crafting DIY card embellishments is a journey of creativity and learning. Every project teaches me something new, and with each card, I can share a piece of myself with others. Whether it’s through the joy of selecting materials, the satisfaction of mastering a technique, or the excitement of seeing your vision come to life, card making is a fulfilling hobby that I believe everyone can enjoy. Let your creativity flow, and happy crafting!