Let’s talk about transforming your living space with a warm glow and a touch of personal flair. I’m going to share with you some nifty candle making tips that have totally changed the vibe of my home. It’s not just about adding light; it’s about creating an ambiance that screams ‘you.’ From choosing the right wax to picking scents that speak to your soul, I’ve uncovered some secrets that’ll guide you through making your candles both a statement piece and a sensory delight. Trust me, once you get the hang of it, every corner of your home can reflect a bit of your personality, softly lit by the candles you’ve lovingly crafted.

Understanding the Basics of Candle Making
Candle making can seem like a daunting hobby at first, but once you dive in, you’ll find it’s quite a cozy and rewarding craft. From creating a soothing ambiance to infusing your home with your favorite fragrances, the reasons to get into candle making are as varied as the candles themselves.
Types of candles you can make
There’s a vast array of candles you can make at home, ranging from simple tealights and votives to elaborate pillar and container candles. Specialty candles like soy aromatherapy candles or beeswax candles with embedded flowers are also popular choices. Each type has its charm and purpose, whether it’s to decorate a dinner table or to provide a soothing scent.
Basic candle making supplies
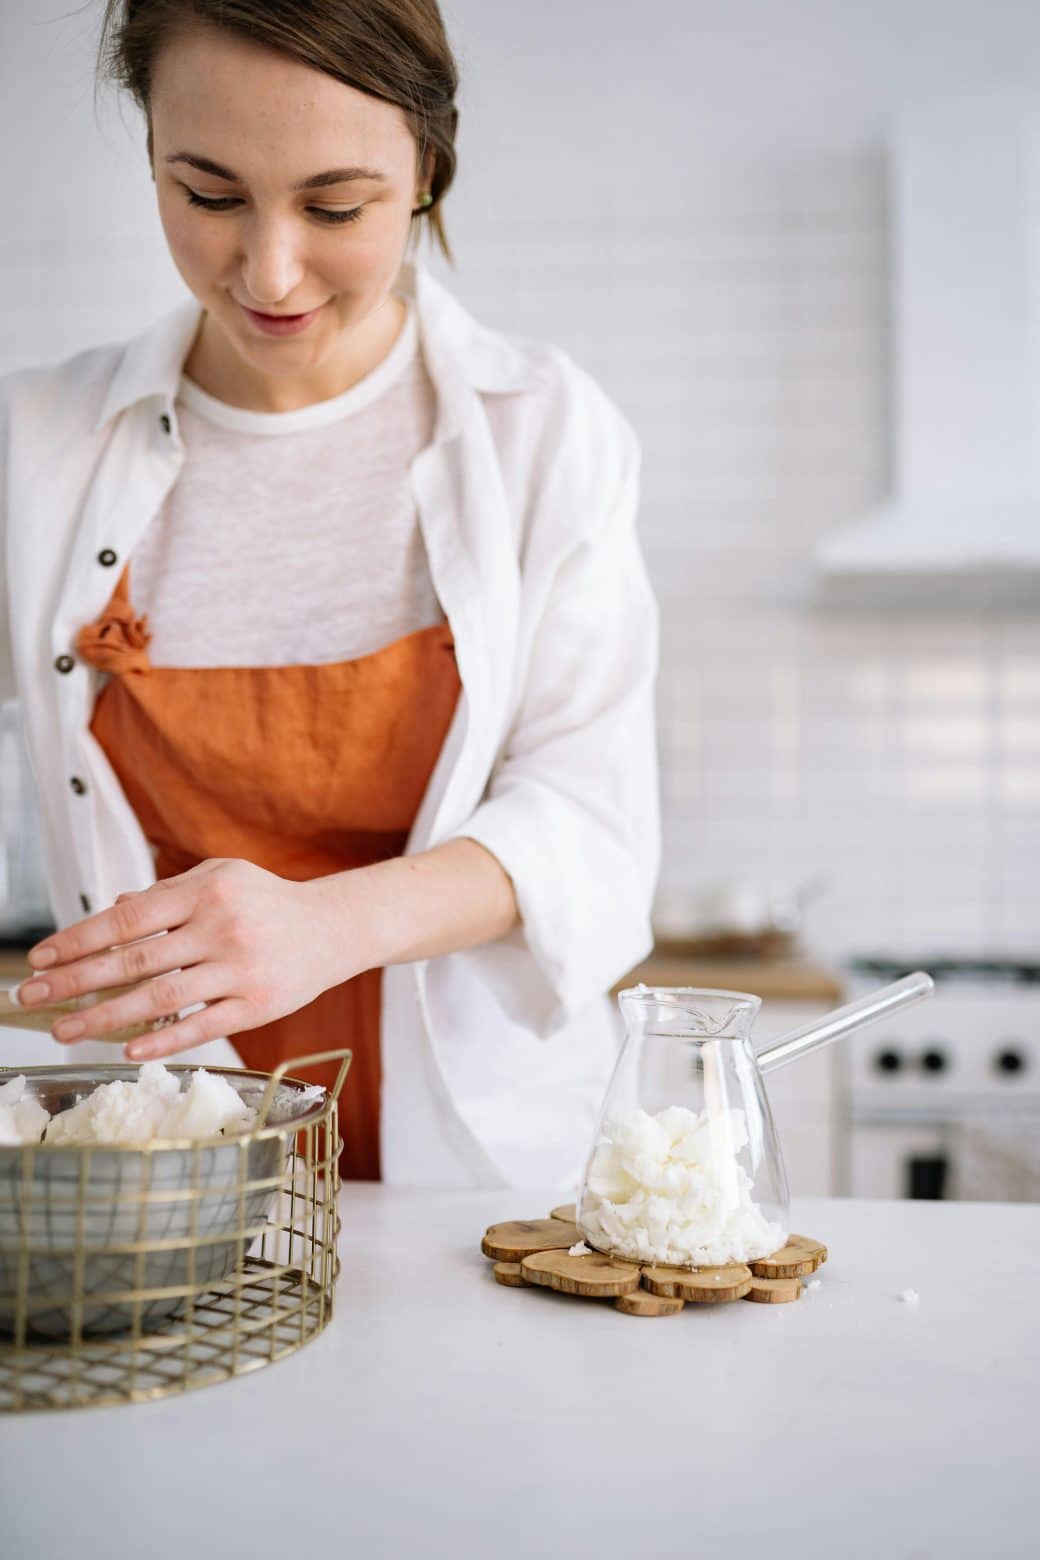
To start making candles, you’ll need some basic supplies: wax, wicks, molds or containers, a melting pot, and a thermometer. You might also consider dyes and fragrances to add a personal touch to your creations. A key point to remember is that the type of supply, like the kind of wax or wick, can significantly affect your candle’s final outcome.
Safety measures to consider
Candle making involves dealing with hot wax and open flames, so safety cannot be overstated. Always use heat-resistant gloves and work in a well-ventilated area. Keep a fire extinguisher nearby just in case, and never leave melting wax unattended. Remember, precaution is better than cure!
Choosing the Right Candle Wax
Choosing the right candle wax is crucial because it lays the foundation of your candle making process. Each wax type offers a different texture, scent throw, and burning time.
Understanding different types of wax
The most common types of candle wax are paraffin, soy, beeswax, and gel. Paraffin is the traditional, inexpensive option, while soy wax is renowned for its eco-friendliness and long burn time. Beeswax naturally purifies the air and has its subtle, natural scent. Gel wax stands out for its translucency, allowing for artistic candle designs, but it’s trickier to work with.
Pros and cons of various wax types
Paraffin wax is highly versatile and holds color and fragrance well but is derived from petroleum, raising concerns about sustainability. Soy wax is renewable and burns cleaner, but it can be more expensive and might not deliver the scent throw that paraffin does. Beeswax boasts air-purifying properties and a natural, honey-like scent but comes with a higher price tag. Gel wax allows for creativity with its clear base but requires careful handling to avoid bubbles and to ensure proper setting.
Choosing the right wax for different candle types
The purpose of your candle should guide your choice of wax. For instance, if you’re making aromatherapy candles, soy or beeswax is a better choice due to their clean burn. For decorative candles where appearance matters most, gel wax can provide that unique look. Evaluate what’s most important in your candle-making project—be it sustainability, appearance, or cost—and choose accordingly.

Picking the Perfect Wick
The wick is the heart of the candle. Its size and material play a significant role in how your candle burns.
Types of candle wicks
Wicks are commonly made from cotton, wood, or hemp. Cotton wicks are the most versatile, suitable for various candle types. Wood wicks create a comforting crackling sound, adding to the ambiance, while hemp wicks are known for their strong, consistent burn.
Choosing the right size and type of wick
The size of the wick should correspond to the diameter of the candle. Too small a wick and your candle will tunnel; too large, and it might produce too much soot. The wax type also influences the wick choice—some waxes require thicker wicks for a proper melt pool.
Tips for setting the wick
Securing the wick in place is vital for an even burn. Using a wick sticker or some melted wax at the base of the container can help anchor it. Keep the wick centered and taut while pouring the wax by using a wick holder or simply laying a pencil across the mold’s top and wrapping the wick around it.
Using the Right Molds and Containers
The selection of molds and containers directly impacts the aesthetics of your candle.
Various candle molds and containers available
Candle molds come in silicone, plastic, and metal varieties, each suitable for different types of candles. Silicone molds are flexible and easy to use for intricate shapes, while metal molds are ideal for pillar candles. Alternatively, containers like mason jars, teacups, or tin cans can be used for container candles, adding a unique twist.
Picking the right mold for your candle type
The candle you intend to make will guide your mold choice. Pillar candles require sturdy molds that can withstand the wax’s heat as it sets, while container candles allow for more creativity in vessel choice. Always ensure that your container can handle the heat without cracking.
Safety aspects when using different molds and containers
When using any mold or container, ensure it’s clean and dry before pouring in the wax. Always check for any cracks or damage in containers as these can lead to leaks or breaks, posing a safety risk. For metal molds and glass containers, consider heating them slightly before pouring in the wax to prevent the wax from cooling too quickly and cracking.

Color and Fragrance Addition Tips
Adding color and fragrance can transform a simple candle into a work of art that appeals to the senses.
Options for coloring candles
There are several ways to color candles, including liquid dyes, dye blocks, and even crayons for a DIY option. Each has its advantages, with liquid dyes offering precise control over color intensity and dye blocks being easy to store and handle.
Types of candle fragrances
Fragrance oils are the most common way to scent candles, available in a wide range of aromas from lavender to freshly baked cookies. Essential oils are another option, offering natural scents and potential aromatherapy benefits, though they can be more volatile and less potent when burned.
Tips for mixing and matching colors and fragrances
When adding color and fragrance, the key is moderation. Too much dye can clog your wick, while too much fragrance oil can cause your candle to burn improperly. Experiment with different combinations, but always start with small amounts and adjust based on the results. Matching colors to scents (like green with eucalyptus or red with cinnamon) can also achieve a harmonious effect.
Melting and Pouring Wax Techniques
The process of melting and pouring is where your candle begins to take shape.
Different methods of melting candle wax
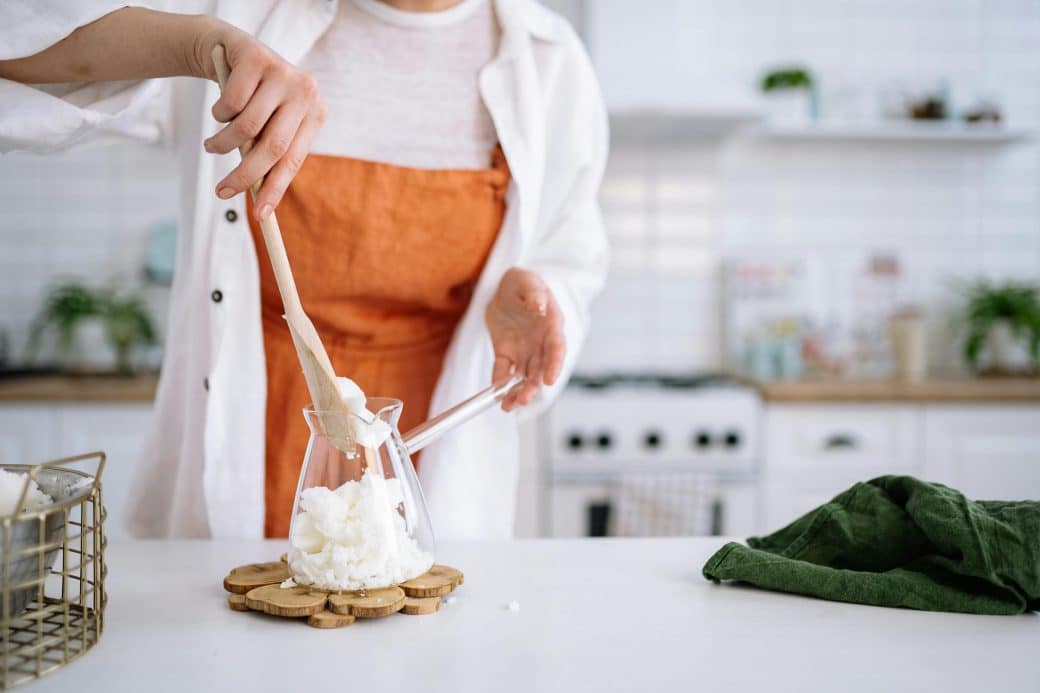
The double boiler method is the safest way to melt wax. It involves placing your wax in a container, which then goes into a larger pot partially filled with water. This method ensures even heating and reduces the risk of the wax getting too hot. Microwave melting is quicker but requires careful monitoring to avoid overheating.
Tips for achieving smooth, bubble-free candles
To prevent bubbles, avoid stirring the wax too vigorously. Pouring the wax slowly and at a slightly cooler temperature can also help achieve a smoother surface. If you’re using a container, warming it before pouring can prevent the wax from cooling and contracting too quickly, reducing the likelihood of bubbles.
Safety tips when melting and pouring wax
Never leave melting wax unattended, and use a thermometer to monitor its temperature closely. Overheated wax can catch fire or cause burns. When pouring, ensure you’re working on a heat-resistant surface and wearing protective gloves to avoid burns from any accidental spills.
Cooling and Setting Your Candles
Patience is key during the cooling and setting phase to ensure a perfect candle outcome.
The importance of slow cooling
Allowing your candles to cool slowly and evenly is essential for preventing cracks and sinkholes. Rapid temperature changes can cause the wax to pull away from the sides of molds or containers, creating unsightly blemishes.
Tips for preventing sinkholes in your candles
To minimize sinkholes, consider pouring the wax in two stages, allowing the initial pour to partially set before topping it off. This method helps to fill in any gaps that might form during the initial cooling process. Keeping your candles in a warm, draft-free area can also encourage even cooling.
How long to let candles set before use
Generally, it’s good practice to let your candles set for at least 24 hours before using them. This waiting period ensures that the wax has fully hardened and the fragrance oils have properly bonded with the wax, allowing for a better scent throw.
Decorative Techniques for Personalized Candles
Incorporating decorative elements can add a personal touch to your candles, making them unique.
Creating layered candles
Layered candles not only look impressive but are also simple to create. By allowing each layer to cool and set before adding the next, you can create beautiful, distinct layers with varying colors and scents. Experimenting with contrasting colors or complementary scents can produce stunning results.
Adding glitter and other decorative elements
Glitter, dried flowers, or even small crystals can be added to the wax just before pouring to add a decorative touch. Be mindful of placement, as adding too many decorations or placing them too close to the wick can affect the candle’s burn.
Carving and shaping candles for unique designs
Once your candles have set, you can carve designs into their surface for an artistic touch. Using tools like a toothpick or a small knife, gently etch your design into the candle, taking care not to damage the wick. This technique works best on pillar candles with a soft yet solid wax composition.
Candle Care and Maintenance
Proper care and maintenance can extend the life of your candles, ensuring they burn cleanly and efficiently.
How to store homemade candles
Store your candles in a cool, dark place to prevent fading and melting. If you’ve made a bunch, avoid stacking them as they can deform under pressure. Wrapping them in parchment paper can help protect the surface and preserve the fragrance.
Tips for ensuring a longer burning time
To maximize the burning time, always trim the wick to about ¼ inch before lighting. This prevents the flame from getting too large and consuming the wax too quickly. Also, ensure your first burn lasts long enough for the entire top layer to melt, preventing tunneling.
Safety measures for burning homemade candles
Never leave a burning candle unattended and keep it away from flammable materials. Ensure the candle is placed on a stable surface away from drafts that could cause uneven burning or carry the flame to nearby objects. Always keep burning candles out of reach of children and pets.
Troubleshooting Common Candle Making Problems
Encountering issues is part of the learning process. Here’s how to fix some common problems.
Fixing tunneling issues
If a candle has started to tunnel, you can fix it by carefully heating the top surface with a heat gun or hairdryer, allowing the wax around the wick to melt and even out. Avoid overheating as this can cause the container to break or the wax to melt too quickly.
Solving wick problems
A wick that’s too short can be extended by attaching a new piece of wick material with a bit of melted wax. For wicks that are too long and causing a large, smoky flame, extinguish the candle and let it cool before trimming the wick down to size.
Preventing and fixing cracks in your candles
Cracks in candles usually occur due to rapid temperature changes during cooling. To prevent this, ensure your candles cool slowly and evenly. Fixing cracks may involve remelting the surface or, for severe cases, doing a re-pour if the candle structure allows.
Crafting candles at home is not just a creative outlet but also a way to personalize your space with warmth and fragrance. As with any craft, practice and patience are key. Embrace the learning curve, and soon you’ll be creating candles that not only illuminate your home but also reflect your personal style and creative flair.